Planting a salad table in March in the Deep South will ensure fresh salad greens, vegetables, and herbs in April. You can plant a salad table in a location that gets sun and some shade depending on the greens and herbs you are going to plant. Some salad tables also have casters and can be moved around for effective sun and shade.
A salad table can be a large table with soil in it as well as a shallow container designed for growing leafy vegetables and herbs in small spaces like a condo balcony or an apartment patio. The weather in March can still be cool, which is ideal for most salad crops, but make sure that the last frost is over.
Advantages of a Salad Table
- Mobility: If your table has casters, this will allow you to move the table around for sun and shady locations for more harvest.
- Drainage: Salad tables have excellent drainage as most are built with mesh bottoms.
- Convenience: Planting and harvesting can be easier as the table’s height eliminates the need for bending.
- Pest and weed control: The elevated, container-based design minimizes weeding. It also protects your plants from pests like snails and even rabbits because of its height.
How to Build a Salad Table
- Build the table. You can construct a shallow wooden frame or buy one at your nursery or online. Find the type that fits your needs with the correct depth and mesh, and again, works well for drainage.
- Fill with potting mix. Use a high-quality, lightweight “soil-less” potting mix. Heavier garden soil is not recommended for salad tables. A soil-less potting mix contains no soil but instead uses materials like peat, coco coir, perlite, and vermiculite, etc. to provide aeration, water retention, and structural support for roots.
Choosing your Plants
Selecting cool-weather leafy greens and herbs for your April harvest is easy. Some good choices include:
- Green Leaf & Red Leaf: These grow as loose bunches rather than heads. They can be harvested by the outer leaves as needed for a longer harvest. Seeds take from 2-10 days to germinate.
- Arugula: It originates from the Mediterranean and belongs to the mustard family. Known for its peppery flavor and rapid growth, you can plant every 14 days for succession planting.
- Spinach: This is a classic cool-weather green that thrives in spring. There are many options when selecting spinach determined by their leaf type like Savoy or Smooth. Plant every 14 days for succession planting. Seeds take from 5-9 days to germinate.
- Romaine: This is a lettuce that grows in heads. The baby leaves of romaine can be harvested. Plant every 14 days for succession planting. Seeds take from 7-10 days to germinate.
- Radishes: These are fast-growing root vegetables that can be harvested in as little as 35 days. Radishes are good companion plants for lettuce because they help to break up the soil.
- Kale: Tender baby kale leaves are perfect for salads. Kale is very simple to grow and is full of nutrients. Ruffled Redbor and Starbor are two types that grown well in Mississippi.
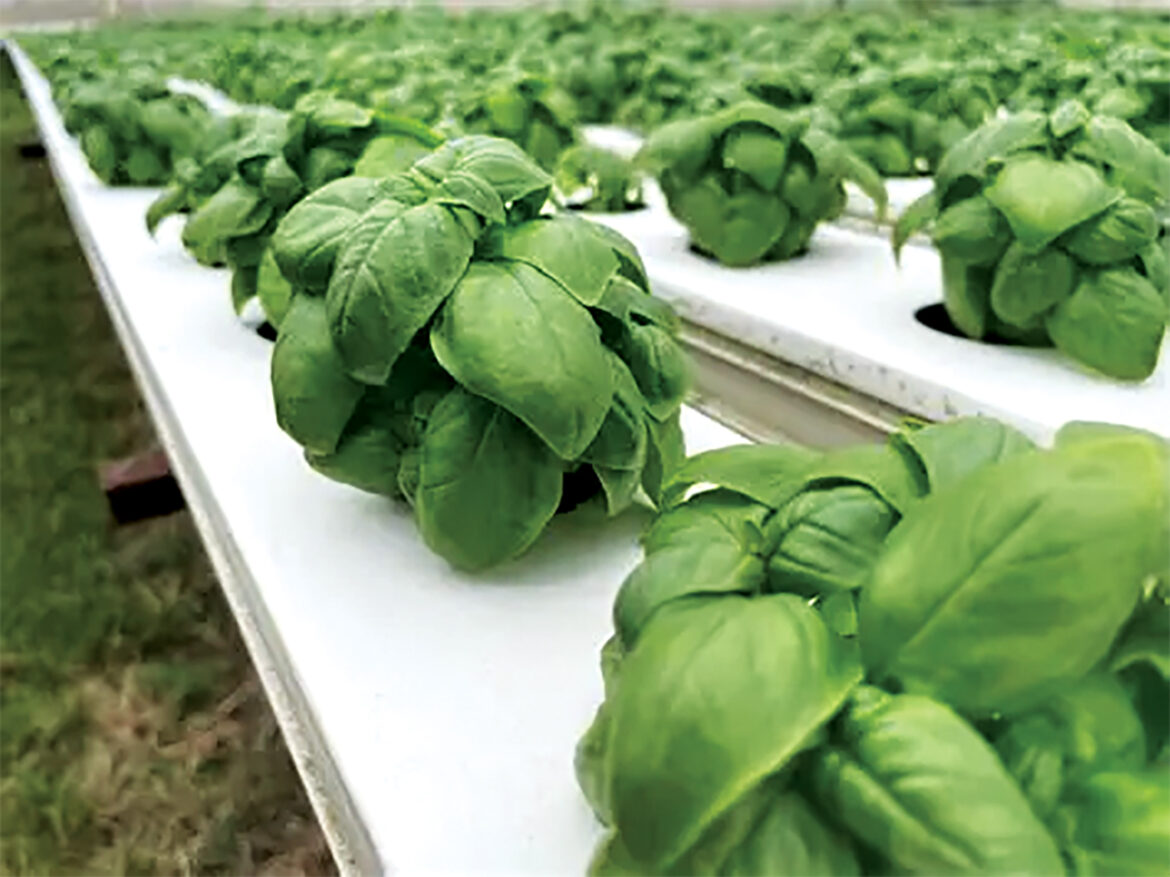
- Herbs: Dill, cilantro, basil, and chives can be planted for an added flavor boost for your lovely salad greens. These are fun and easy to grow.
Gardening Notes
- Water and fertilize: Keep the potting mix consistently moist, as salad greens are thirsty plants. Water more frequently as temperatures rise. You might want to apply a gentle organic fertilizer after the seedlings emerge.
- Sun and shade: Most salad greens prefer shaded growing spots during the hottest months of the season.
Practice succession planting: To ensure a continuous harvest throughout the spring, sow new seeds every one to two weeks during March and April. This prevents all your plants from maturing at once.
When we grow any type of leafy greens it is important to do succession planting. That means we plant every two weeks so that we can have a perpetual harvest through the entire season. We have the option to harvest baby greens while we allow a few of the plants to grow to full size.
Harvesting Your Bounty
As the plants mature, use scissors to snip the outer leaves, leaving the inner leaves to continue growing for a “cut-and-come-again” method of harvest. If harvesting kale, it’s easy to pull the leaves from the hard stem and midribs by simply tearing them.
Points to Remember
- Use clean tools. Use clean shears or scissors to prevent the spread of disease and avoid damaging the plant when harvesting.
Leave the center alone. Always leave the inner, younger leaves and the central growing point untouched, as this is where new growth will come from. - Harvest in moderation. Do not cut more than one-third of the plant at a time.
- Harvest regularly. You can harvest your veggies and herbs every one to two weeks, depending on how quickly the plants grow.
- Clean your harvest. After you cut the leaves, place them in a salad spinner colander, and fill the bowl with water gently agitating greens to release dirt. Then, drain the greens in the colander and spin until dry.
- Support regrowth. Don’t forget to go back and water the cut plant immediately after harvesting to help it recover and promote new growth in your salad table.
- Fertilize. Fertilize every few weeks with compost tea or an organic fertilize to promote growth.
Gaye Winter, Ph.D., teaches English at Mississippi Gulf Coast Community College and is currently serving as President of the Biloxi Garden Club. Reach her at gaye.winter@mgccc.edu.